

How to change DNS servers in Windows 10

What is a DNS server?
A Domain Name System (DNS) server basically translates a human-friendly, easily readable domain name into an IP address. For example, the domain name www.example.com translates to 93.184.216.34 (IPv4).
Choosing a DNS server
Most internet service providers (ISP) maintain a DNS resolver server to translate all the domain names their customers visit. However, I have had issues with these ISP DNS servers (BSNL and Ethernet Xpress.) They timeout often or simply don't work. They're probably not robust enough to handle the load of traffic at certain peak times.
You can usually tell that it's a DNS issue when some sites work and some don't. The sites that work are usually the ones that you've visited very recently (a couple of hours before some sites stopped loading.) These work because the domain name translation to IP address is cached in your browser, PC or router. In these cases, you're better off using another DNS server. There are a lot of options, but the most common are probably Cloudflare's 1.1.1.1 service and GoogleDNS.
How to change my DNS server in Windows 10?
There are multiple ways to get into the Network Connections window. Here's one way:
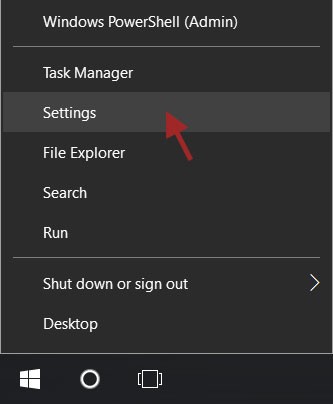
In Windows 10, right click on the Start menu icon (bottom-right) and click on Settings.
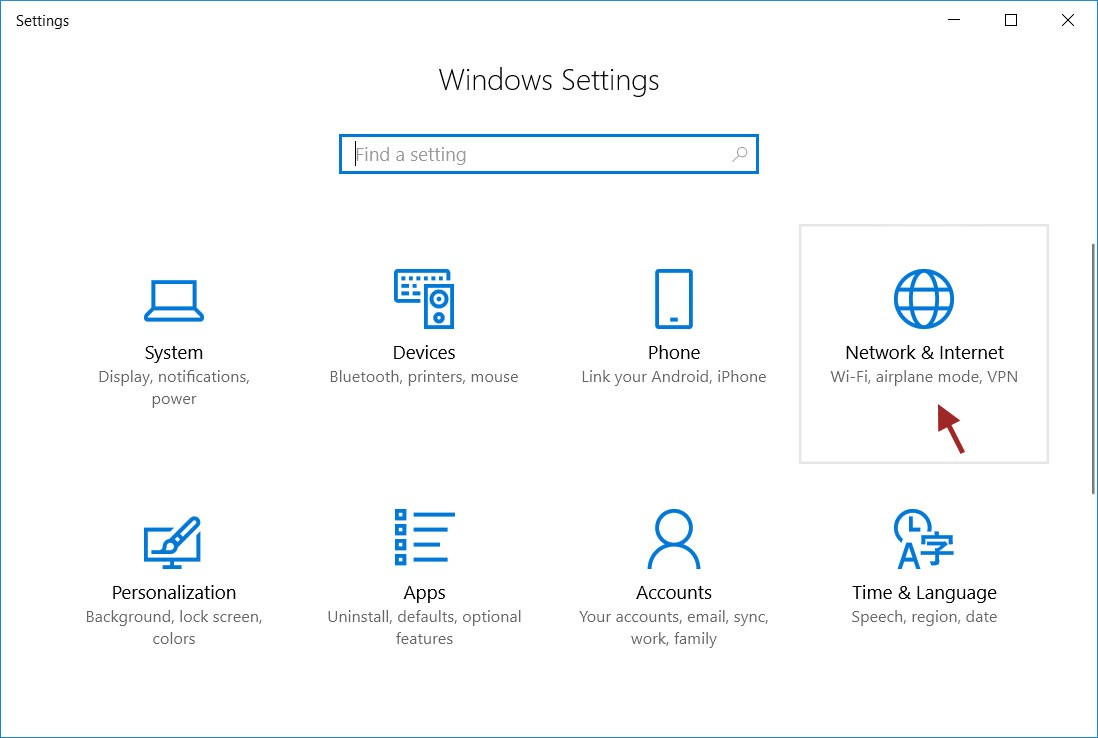
In the Settings window, click on Network & Internet.
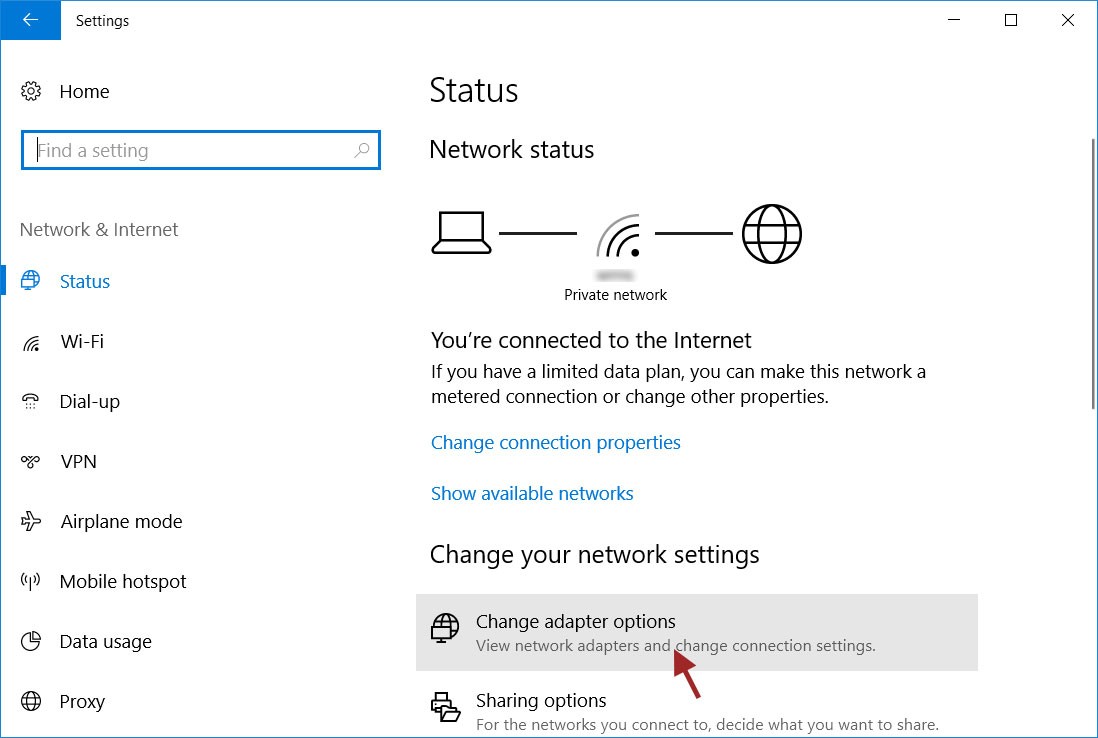
Then click on Change adapter options.
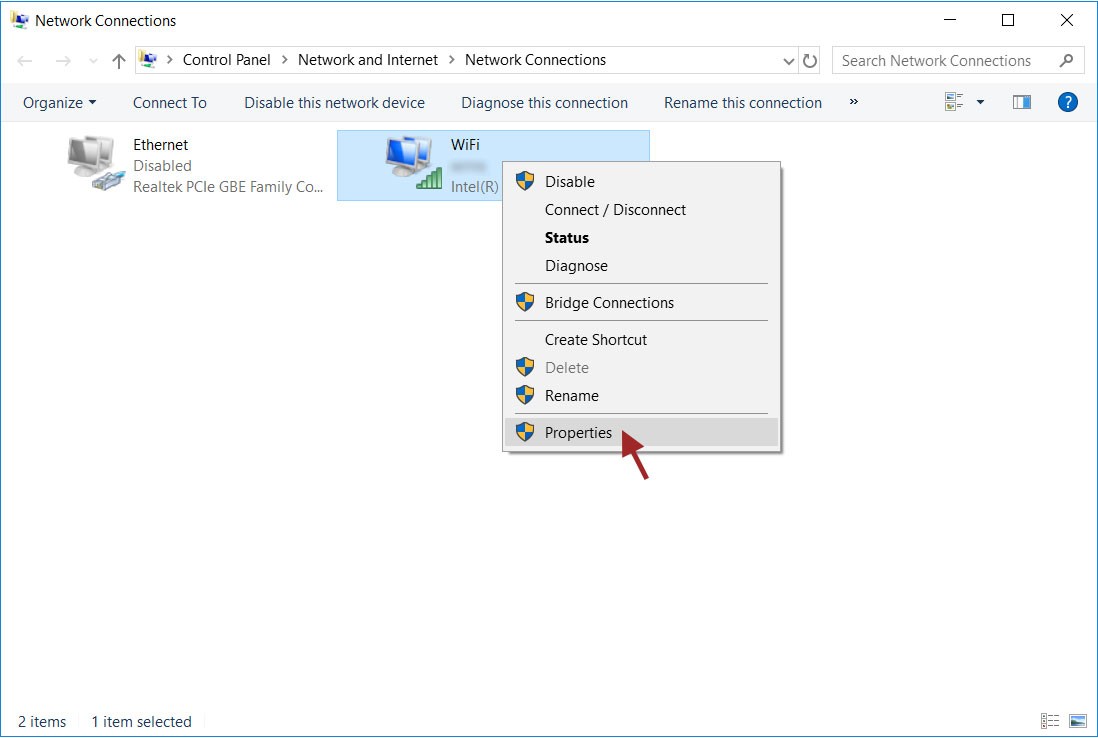
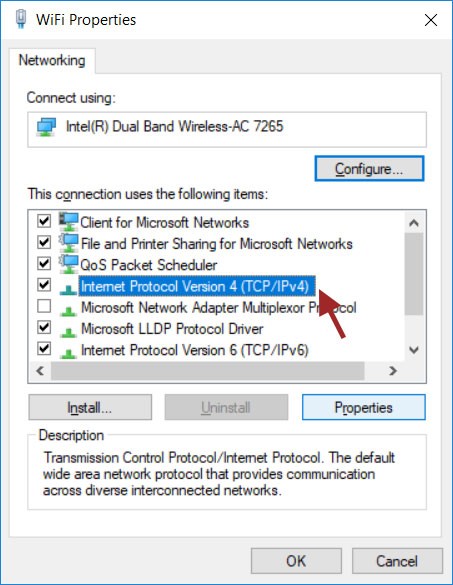
You should see the Network Connections window. Right-click the active connection (WiFi in my case) and click on Properties.
In the Properties dialog window, click Internet Protocol Version 4 (TCP/IPv4) and then click on the Properties button below.
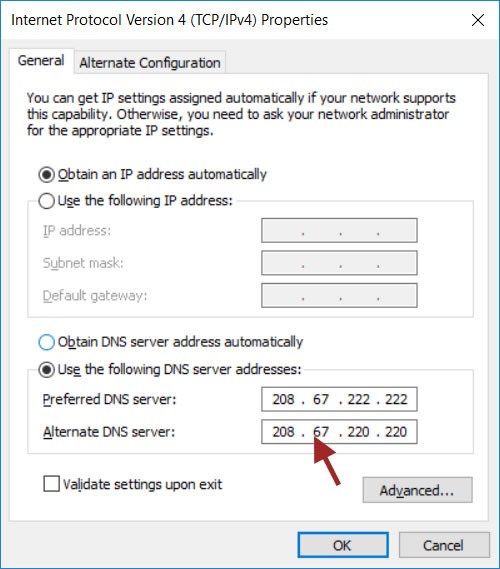
Click Use the following DNS server addresses: and type in the required IP addresses.
I use Cloudflare. The IP addresses are 1.1.1.1 and 1.0.0.1
You could also use GoogleDNS. The IP addresses are 8.8.8.8 and 8.8.4.4
Does this help your web pages load quicker?